1. Introduction
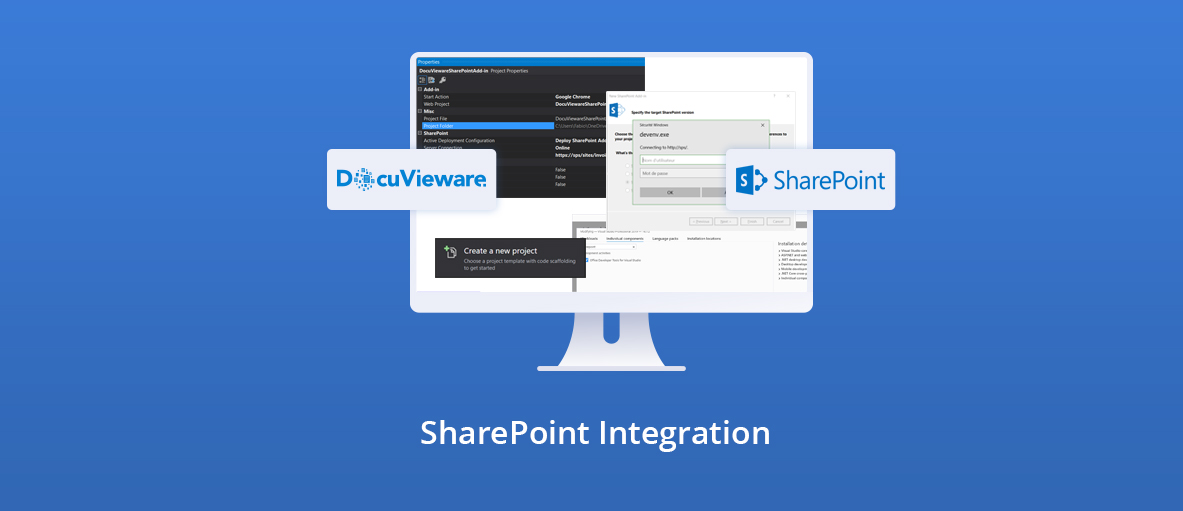
As several of our clients are using DocuVieware with their SharePoint environment, we decided to write a step by step article to help people before they dive in.
For this tutorial, we chose to make an App-in instead of a SharePoint solution.
A SharePoint App-in has many advantages compared to farm solutions when you consider the safety, scaling, and integration of the deployment environment.
Here are some important notes regarding SharePoint Apps when compared with SharePoint solutions:
- App code will not run in the SharePoint host environment.
- They can work within the scope of a SharePoint site, and also in a special SharePoint site (App Catalog).
- No downtime is required for the whole environment when an app is being upgraded.
1. Prerequisites
For creating the SharePoint application we used these tools:
- Microsoft Visual Studio Enterprise 2019
- Microsoft .NET Framework Version 4.8.04084
- SharePoint 2019
- DocuVieware: 3.1.0.75
Also, we used a SharePoint 2019 solution host in an Azure cloud environment.
2. Create your application
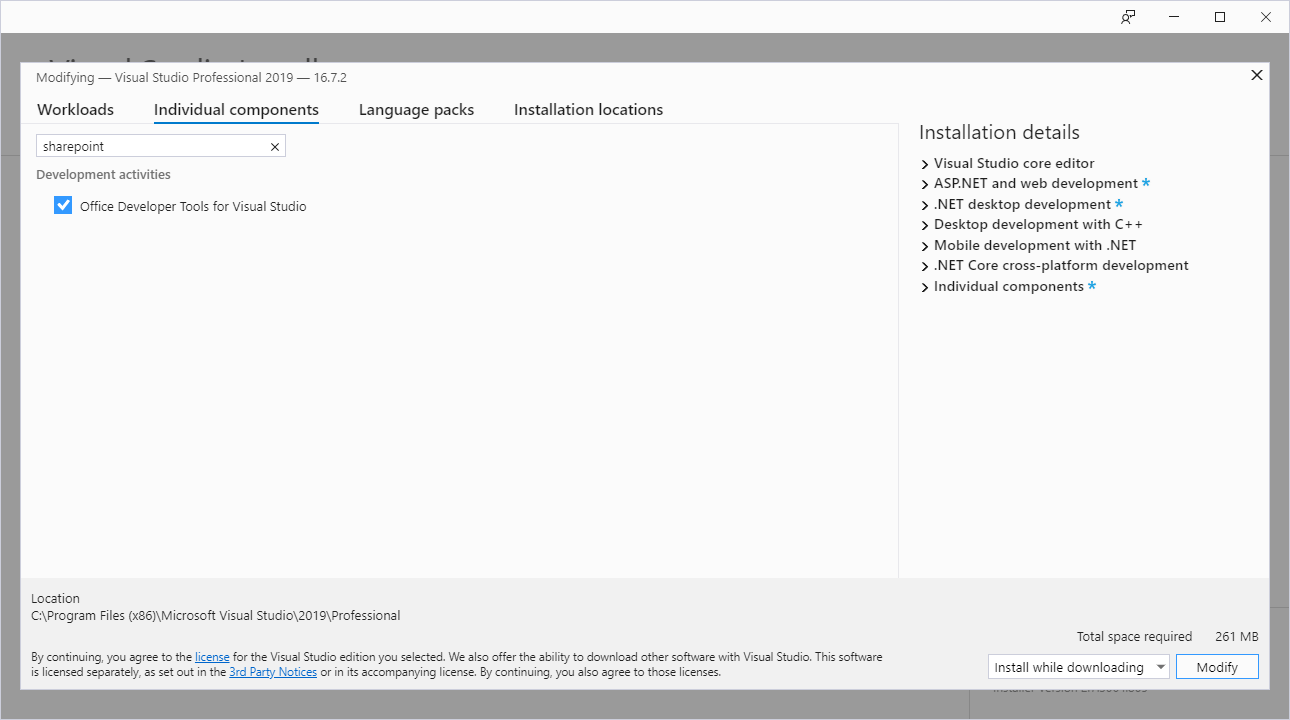
First of all, you’ll need to add the “Office Developer Tools for Visual Studio” component using the Visual Studio installer to make the add-in application work:
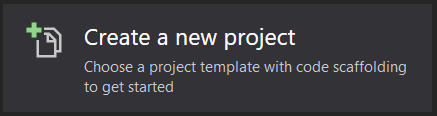
Then, we need to create our app.
→ Launch Visual Studio
→ “Create a new project”
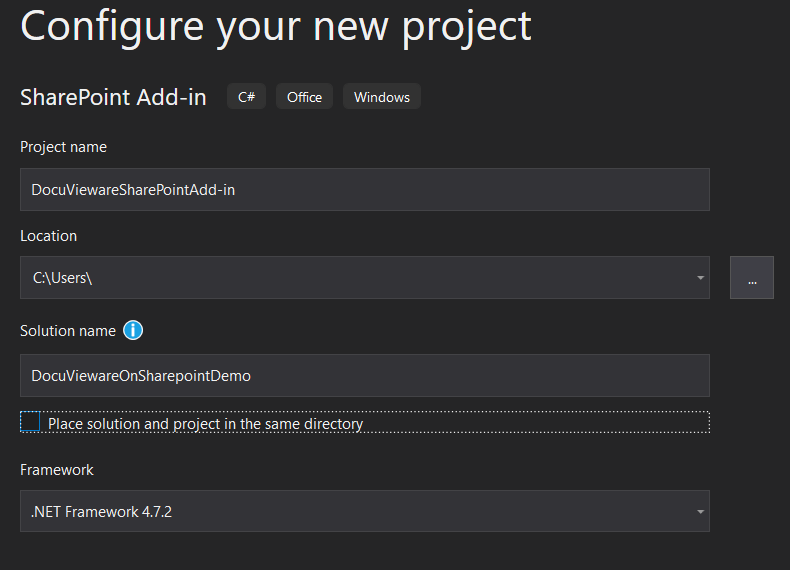
→ “SharePoint add-in” (C#)

→ Configure the projects
→ Click on “Create”
→ Specify your SharePoint Add-in settings
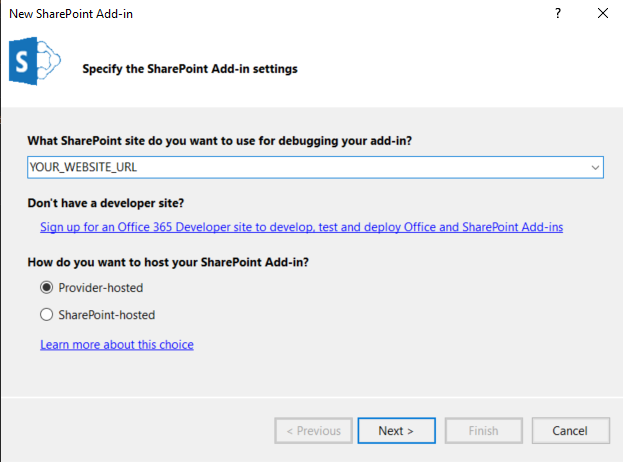
Information:
Provider-hosted: hosts the app externally from SharePoint and uses all the options available with the Client-Side Object Model.
SharePoint-hosted: hosts the app within SharePoint and uses the JavaScript Client-Side Object Model.