- 1. A brief introduction
- 2. Create your Visual Studio project
- 3. Create your Angular 10 application
- 4. Add DocuVieware
- 5. Code!
- 6. Enjoy your app!
1. A brief introduction
Angular 10 became generally available as a production release on June 24, 2020.
The major upgrade to the Google-developed, TypeScript-based framework puts more emphasis on quality, tool, and ecosystem
improvements than new features.
It may not appear as impactful as the version 9 but embarks some notable changes:
- New Date Range Picker
- Warnings about CommonJS imports
- Optional Stricter Settings
- Keeping Up to Date with the Ecosystem
- New Default Browser Configuration
- Angular Team Fixit
- Deprecations and Removals
At the end of this tutorial, you will be able to run an Angular 10 application on Visual Studio with DocuVieware.
This tutorial includes a clean-up panel, which is not necessary for the application to work. But it will show how to
implement a DocuVieware custom feature.
1.1. Set up your Visual Studio project
As a prerequisite, of course, you need Virtual Studio updated and the latest version of DocuVieware.
For this tutorial, we used Microsoft Visual Studio Enterprise 2019 version 16.6.4.
1.2. Set up the Angular 10 application
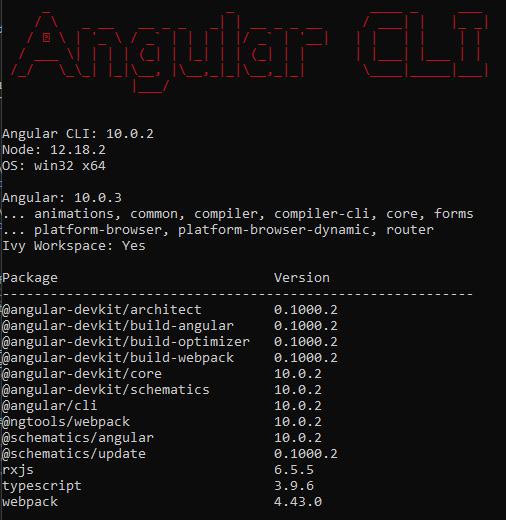
As a prerequisite, you need Node.js to be installed and set up properly in the PATH environment variable. You can verify
it by writing “node -v” into the command prompt. For this tutorial, we used Node.js 12.18.2.
Check also your Angular version by typing “ng –v”, and in case you have the old version, update it with this command:
→ ng update @angular/cli @angular/core
2. Create your Visual Studio project
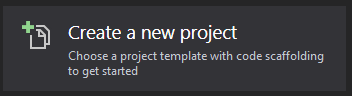
→ Launch Visual Studio
→ Create a new project
→ Create an ASP.NET Core Web Application
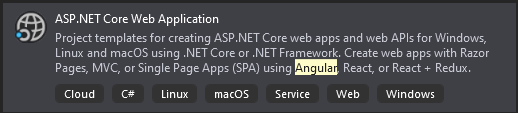
→ Give a name to your project
→ Choose “Angular”

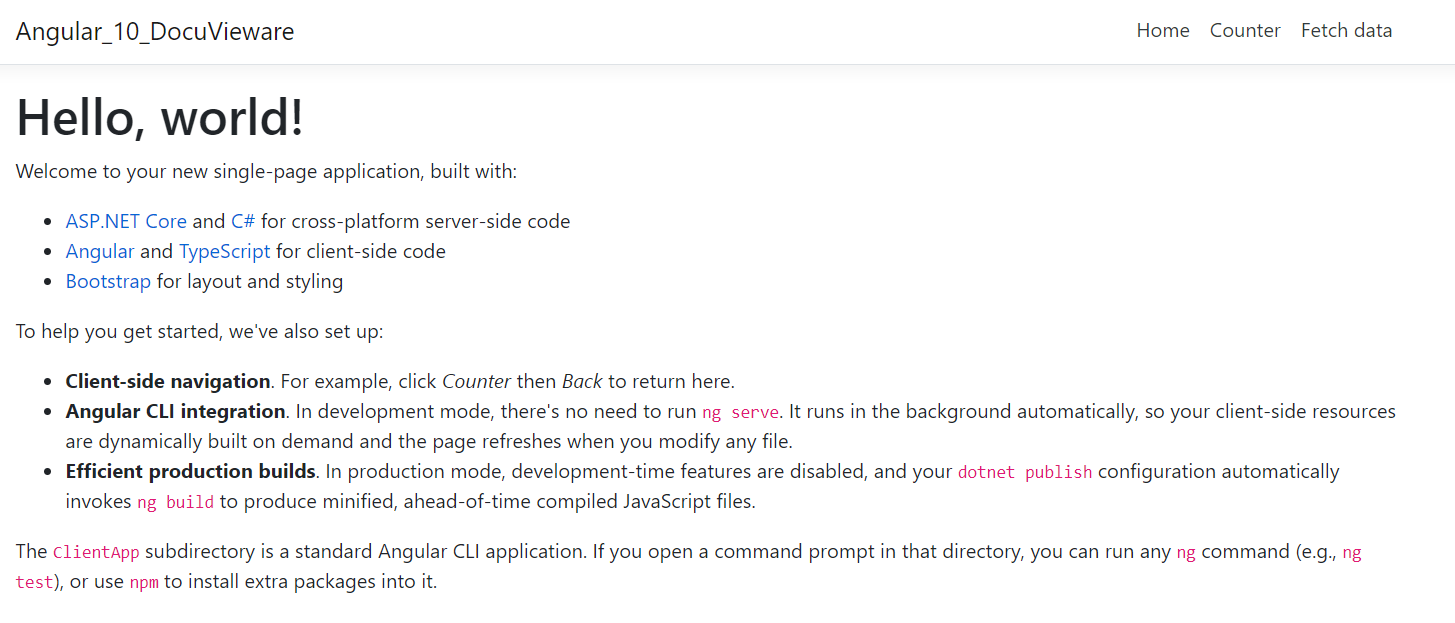
Your project is now created, this is what you should see after running it:
Delete all files and references related to the VS project template. They will be useless for the rest of this tutorial.
Files:
→ WeatherForecast.cs
→ Controllers/WeatherForecastController.cs
→ Folder ClientApp
3. Create your Angular 10 application
At the moment, Visual Studio does not create an Angular 10 app automatically. So we need to create the client app
manually with the command prompt in our VS project.
Warning: close your Visual Studio for creating properly the Angular 10 application inside. If you don’t
do this, Visual Studio will create the node modules dependencies and it will generate tons of errors.
→ In a command prompt go to your VS Project folder
→ ng new ClientApp
→ Yes
→ CSS
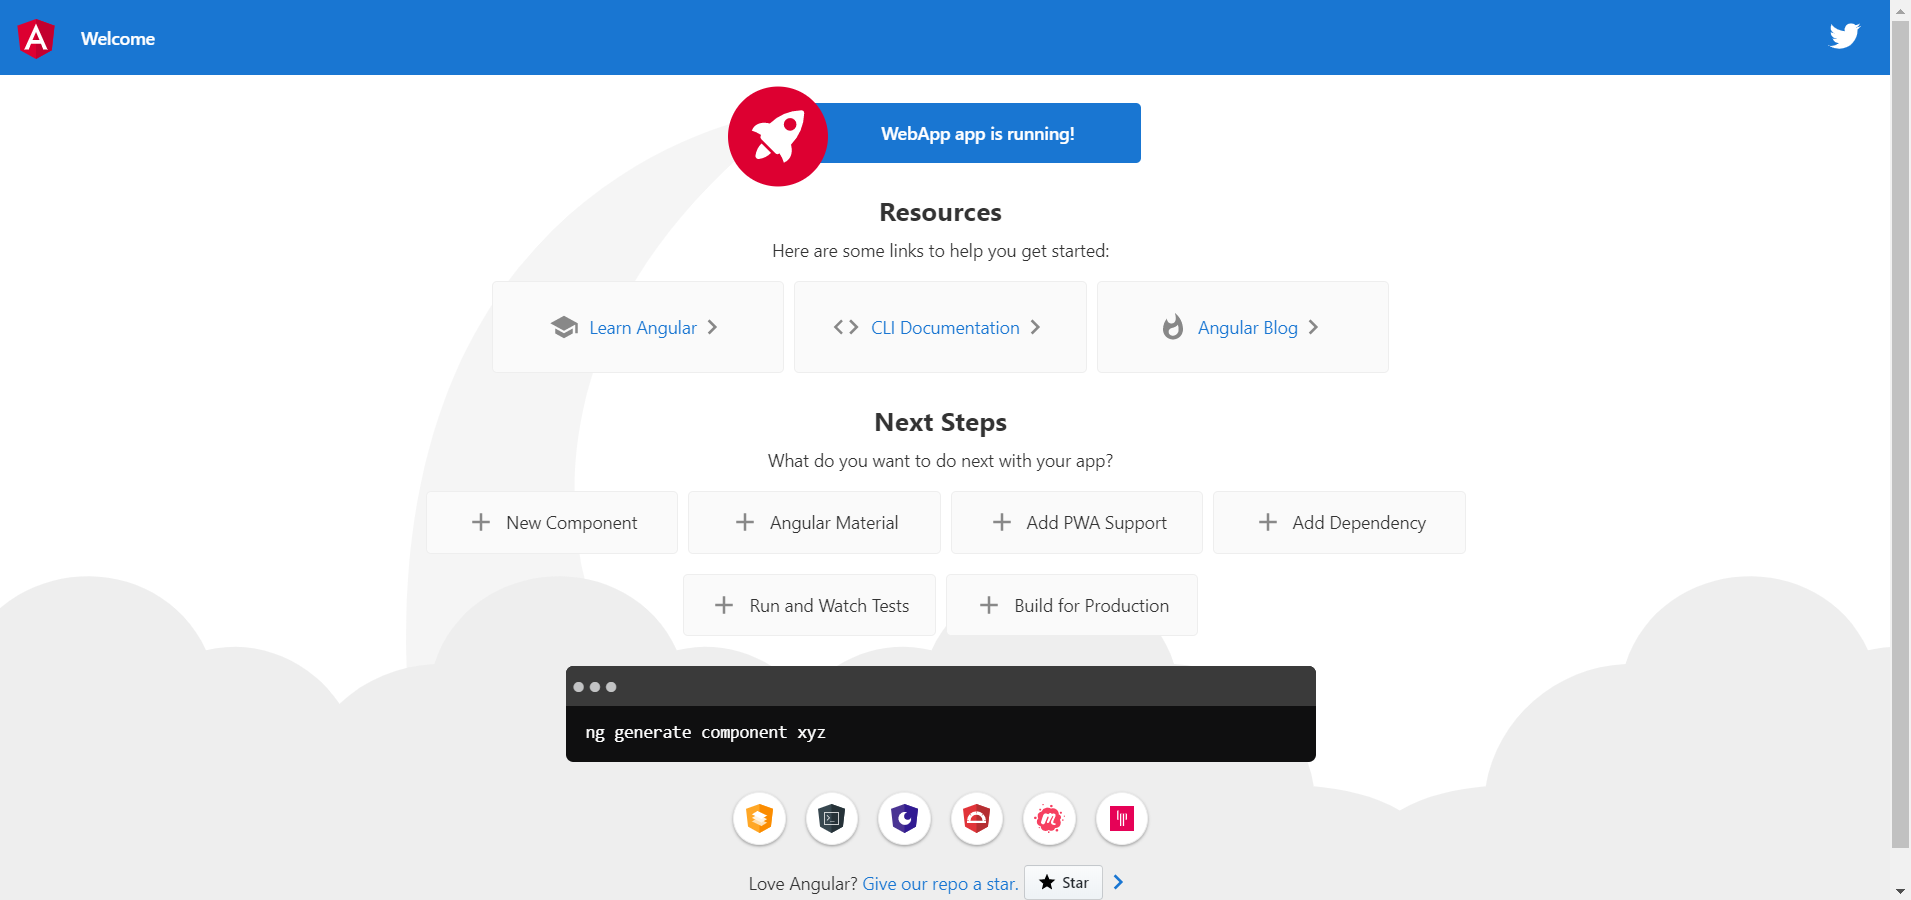
Open Visual Studio, you can see there is no “node_modules” folder, Visual Studio linked it to the dependencies itself.
Your Angular 10 app is now created into your VS project, but there are some errors. It is normal, at the moment, Visual
Studio is not configured to accept an Angular 10 native app.
For linking properly the Angular app to your project you need to modify the JSON files.
Copy the tsconfig.base.json (into ClientApp/tsconfig.json) and paste it into the tsconfig.json
Into package.json, change the <“start”: “ng serve”> parameter under <“script” to: "start": "echo hello && ng serve">.
This little piece of JSON is really important and will block your application if you don’t modify it.
By doing this, everything should work fine, so launch the application!
4. Add DocuVieware
Now, let’s take a look at how to add your DocuVieware SDK into the project.
For this, right-click on “dependencies” and select “Add project reference”, then, in the “browse” section, select “
GdPicture.NET.14.WEB.DocuVieware.Core.dll”. You will find it at C:\GdPicture.NET 14\Redist\DocuVieware (.NET Core 3.0)).
Our SDK is now well implemented to your solution, you should be able to get functionalities by adding an assembly: using
GdPicture14.WEB;